


 There aren’t a lot of pasta recipes on this blog – but here is one.
A post from Carolyn. It isn’t that I don’t like pasta – I do. But I do my best not to eat it, or to limit it, for sure. Because of the carbs. But in this case, I’d read about a new pasta that’s sold online, Fiber Gourmet, using a technique for making pasta a resistant starch.
Resistant starch is a carbohydrate that resists digestion in the small intestine and ferments in the large intestine. As the fibers ferment they act as a prebiotic and feed the good bacteria in the gut. When starches are digested they typically break down into glucose. Because resistant starch is not digested in the small intestine, it doesn’t raise glucose.
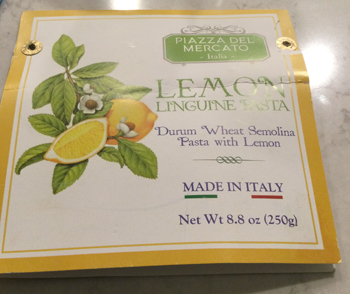
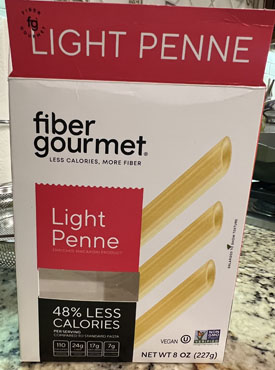 It means also that less of the carb is absorbed into the body, hence reducing its calorie and carb count. Sweet potatoes are a resistant starch. So are plantains. And cooked and cooled rice is one. Here’s a photo of the box of this penne. Note that this is an 8-ounce box. I cooked the whole box, but I’m certain I’ll get about 5 servings out of it. If you’re a hearty eater, probably not, but I ate small portions. That means it’s not all that “bad” for me. Loved that I could have some pasta and not feel guilty about it.
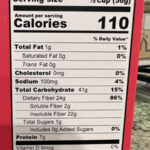
I’ll include the nutrition info about this also. They offer several different pasta shapes, including one that’s like orzo, though they call it rice. It’s not, it’s pasta. I bought the variety box. This stuff is expensive, but considering I’ll get 5 servings out of that 8 ounces, I’m willing to pay the premium.
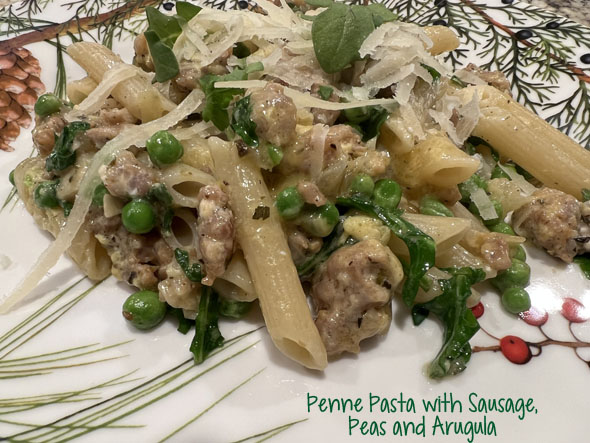
 You know those days when you have something in the frig you need to use (Italian sausage) but don’t want to run to the grocery store to buy food to go with it, and so you raid the frig and pantry for other things (frozen peas, arugula, cream, and an onion from the pantry). That’s how this pasta came to be. I sizzled onion in some butter and EVOO, then added garlic (lots), then crumbled Italian sausage and let that cook a bit. Meanwhile I boiled the pasta – let me share a bit about that. Eh what? Boiling pasta? Yes. This pasta suggested a cooking time of 15-17 minutes, far longer than a normal penne. I began checking at 9 minutes. Uh, nope, still very underdone. Added another 3 minutes. Still underdone. I drained it at about 12-13 minutes because I knew I’d be cooking it just a bit more in the pan.
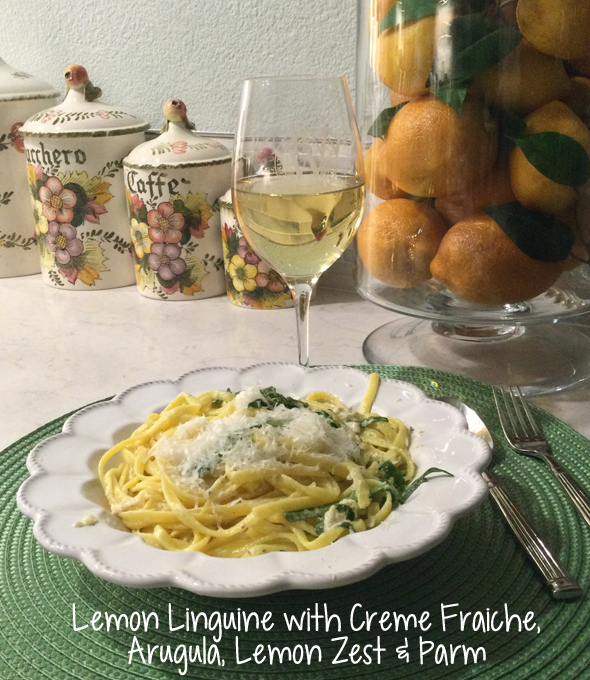
I added a raw egg to the hot, drained pasta (kind of a carbonara thing going), then mixed it in with the sausage mixture to which I’d added the peas and arugula. I’d also added a bit of cream too. Heated that through, served it and garnished with some grated Pecorino cheese. A swift move to my table and I gobbled it down. Yum.
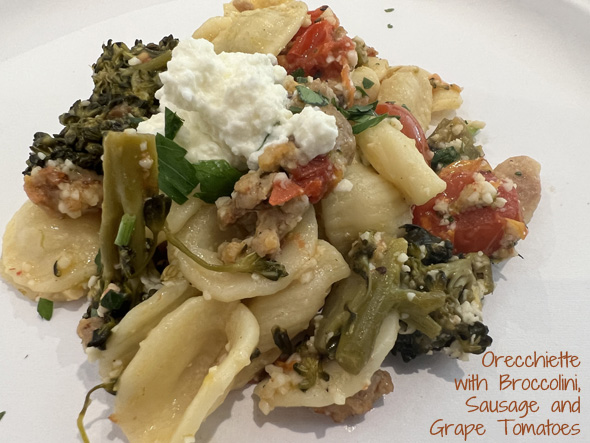
What’s GOOD: just because I was making and eating pasta was a treat for me. Loved it. Now, is this sausage sauce a standout above many others? Perhaps not. I have some great pasta on my blog. This one won’t be getting extra high marks, but it was GOOD. I liked it a lot. It was easy, which I liked. The fact that this is a resistant starch made it all the better for me. I liked the firm-to-the-tooth texture – like regular pasta. I’ll be buying this pasta again, for sure.
What’s NOT: nothing really. It was not labor intensive, certainly something I’d be willing to make again, especially with this new resistant starch pasta.
printer-friendly PDF and MasterCook file (click link to open recipe)
* Exported from MasterCook *
Penne with Sausage, Peas and Arugula
Recipe By: My own combination
Servings: 4
1 tablespoon EVOO
1 tablespoon butter
1 whole yellow onion — minced
3 cloves garlic — minced
8 ounces Italian sausage — casings removed
1 tablespoon Italian herb blend
1 pinch red chili flakes
Salt and pepper to taste
1/3 cup heavy cream
2/3 cup frozen peas
2 cups fresh arugula — chopped, or fresh spinach
8 ounces pasta — penne, or other pasta of your choice
1 large egg — beaten with a fork
1/2 cup Pecorino Romano cheese — shredded
1. Bring a large pot of salted water to a boil while you prepare the sauce.
2. In a large skillet add oil and butter over medium-high. When it begins to sizzle, add onion. Reduce heat to medium and saute until onion is fully translucent. Add garlic and cook for about one minute only. Add sausage meat in small pieces and continue to cook until meat has lost all of its pink color. Add Italian herb blend, salt and pepper to taste and red chili flakes.
3. Add pasta to the pot of water and begin a timer so you don’t overcook the pasta. Under cook the pasta by about a minute as you will continue to cook it in the pan for a few minutes later.
4. To the meat mixture add heavy cream and stir as the mixture warms. Add the peas and arugula and stir well.
5. Drain the pasta and pour it onto the top of the sausage mixture. Add the well-beaten egg to the pasta and stir it gently until the egg has fully been incorporated into the pasta. Then gently mix the pasta into the sausage mixture.
6. Spoon portions onto heated plates and garnish with the grated cheese. if you have fresh basil, add some on top.
Per Serving: 663 Calories; 37g Fat (50.3% calories from fat); 30g Protein; 52g Carbohydrate; 3g Dietary Fiber; 136mg Cholesterol; 742mg Sodium; 5g Total Sugars; 1mcg Vitamin D; 405mg Calcium; 4mg Iron; 394mg Potassium; 451mg Phosphorus.


Leave a Comment!