


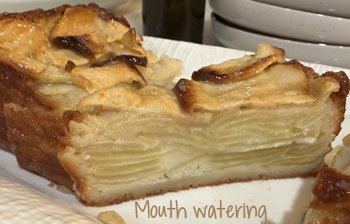
 Luscious and absolutely divine.
If you read all of the post I did about my trip to Florence in October, with my friend Linda, then you’ll have read the part about how we fell in love with mascarpone cheesecake while we were there. We visited one restaurant three times just so we could order their cheesecake. Until that trip I’d never gone back to any restaurant for cheesecake, as cheesecake isn’t usually up at the top of my dessert radar.
But since it did, we asked questions. The waiters at the restaurant weren’t Italian (they looked the part, however) but all they could tell us was that the cheesecake was made with mascarpone AND “Philadelphia.” We laughed about that – we know it as cream cheese, OR “Philadelphia cream cheese.” I did a deep dive about the subject:
Philadelphia Cream Cheese: It was invented in New York in 1872 by a dairyman, William Lawrence. He was trying to replicate French Neufchatel, but accidentally added an excessive amount of cream to the batch, which created a richer, smoother and more spreadable product. In about 1880 it was rebranded (probably that word didn’t exist back then) as “Philadelphia” because that part of Pennsylvania was renowned for high quality dairy farms. The cheese brand was sold several times and now is owned by Kraft.
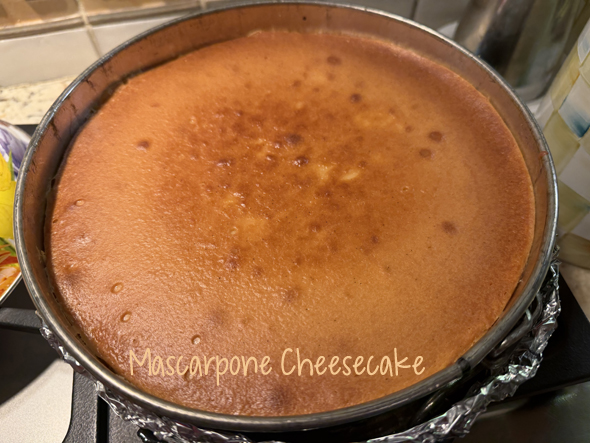
When we were in Florence I noticed the grocery stores sold a product called “Philadelphia.” It didn’t have a “cream cheese” label at all. After I got home I looked up a dozen or so recipes for mascarpone cheesecake, and generally they were 50% mascarpone and 50% cream cheese. The recipe I used here came from Taste of Home, and used that 50/50 division. I added an extra egg yolk and have changed the baking just a bit. My cheesecake ended up quite golden brown on the top. The one we had in Florence didn’t have even a hint of golden brown. I may have baked it too high in the oven or longer than necessary. Use an instant read thermometer and remove the cheesecake when it’s reached 145°F.
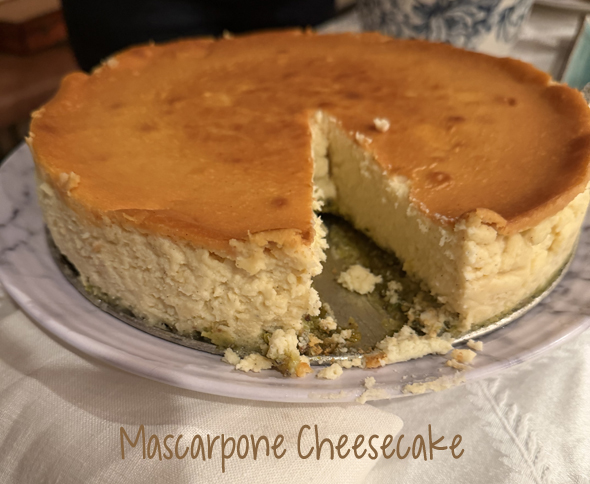 There’s nothing new in this recipe for making cheesecake. A graham cracker crust and a filling composed of the the real-thing, Kraft’s Philadelphia cream cheese and imported Mascarpone cheese (thank goodness for Trader Joe’s who sells it all year round at a reasonable price), lemon juice, vanilla and eggs. Simple, really. Make certain you cool it completely before refrigerating. Too soon and the top may crack. Make it a day ahead. It’s serve about 16 people – yes, it’s rich. We served it with whipped cream. In Italy they served it with raspberries and blackberries and a little bit of a berry syrup. Plus a tiny dollop of whipped cream.
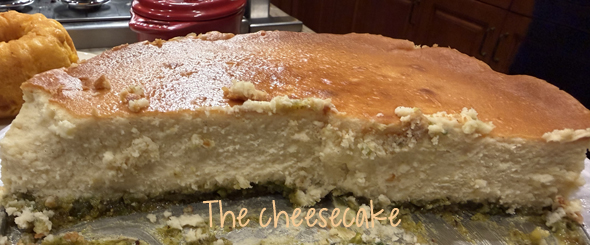
What’s GOOD; oh goodness, this is so delicious. I only got one small slice as I made it for Christmas dinner at Powell & Karen’s home, and left the remaining with them. It got eaten the next day. Hence, I want to make it again! So creamy and decadent.
What’s NOT: it’s an expensive dessert, but serves so many people. A good thing, not a bad thing. You probably could pare it down and bake in a smaller springform pan.
Mascarpone Cheesecake
Serves: 16
|
3/4 cup graham cracker crumbs
3 tablespoons sugar
3 tablespoons butter, melted
FILLING:
16 ounces cream cheese, softened
16 ounces Mascarpone cheese, softened
1 cup sugar
1 tablespoon lemon juice
1 tablespoon vanilla extract
4 large eggs, room temperature, lightly beaten
1 large egg yolk, room temperature
TOPPING:
1 cup heavy cream, sweetened with vanilla and powdered sugar
|
1. Preheat oven to 325°F. Place oven rack on a middle-lower shelf of the oven.
2. Place a greased 9-inch springform pan on a double thickness of heavy-duty foil (about 18 inches square) and securely wrap the foil around the pan. Don’t be stingy with the foil. Use large sheets rather than piecing small ones together. The foil is essential to prevent any liquid in the water bath from seeping into the pan, which would lead to a soggy crust and a watery filling.
3. In a small bowl, combine the graham cracker crumbs and sugar, then stir in the melted butter. Press the mixture onto the bottom only of the prepared springform pan, then place the pan on a baking sheet. Use the flat bottom of a measuring cup or glass to help press the crust mixture into an even layer on the bottom of your pan. Bake for 10 minutes, then cool on a wire rack.
4. Using a stand mixer, beat the softened cheeses, sugar, lemon juice and vanilla until smooth. Add the eggs and egg yolk and beat on low until just combined. You do not want to aerate the filling, just until it’s mixed thoroughly, about 20-30 seconds on low.
5. Pour the filling over the crust, then place the springform pan in a large baking pan. Carefully add 1 inch of hot water to the larger pan. Transfer to the oven and bake until the center is just set and the top appears dull, about 1 hour to 1 hour and 15 minutes. Set a timer about 10 minutes prior to check the cheesecake. Use an instant read thermometer and remove the cheesecake when it reaches 145°F. It will continue to bake slightly while it cools. Also, if the cheesecake is getting too brown on the top, cover top with foil, gently crimped around the springform rim. Once done, remove the cheesecake from the water bath and cool on a wire rack for 10 minutes. Carefully run a knife or a thin plastic spatula around the inside edge of the pan to loosen the cheesecake. Allow it to cool slowly and gently for the best results, about 3 hours. Then, refrigerate the cheesecake overnight in the pan (do not remove the springform side). DO NOT rush the cooling process. Cheesecake can crack if transferred to the refrigerator too soon.
6. Remove the springform side, slice and add a large dollop of whipped cream to each serving. Or for extra sweet, add a caramel drizzle, or sliced berries on or around each slice.


 The recipe came from the ‘net, All Day I Dream About Food (a blog). I made a couple of changes – I used
Leave a Comment!