
Master Grilling Guide
My DH (that’s dear husband) always thought he was the king of the grill. Well, he still is, but it’s been a circuitous route. All these years he’s told me he knew what he was doing, knew how long to cook a chicken breast. Mostly I believed him, but then we’d have a disaster on the grill. But then he’d do a perfect steak, and my faith was renewed. Seems like it was always the chicken breasts that got us.
So I signed up to take a grilling class (and took my DH Dave along). He got a lot out of it too. But whether he’d actually do all the different techniques we learned, well, I wasn’t altogether sure. But I figured if I did all the prep work – and set up the meat thermometer so it’s all ready to go, set for the interior grill temp and the meat temp, AND tell him what the drill is, he’d be willing.
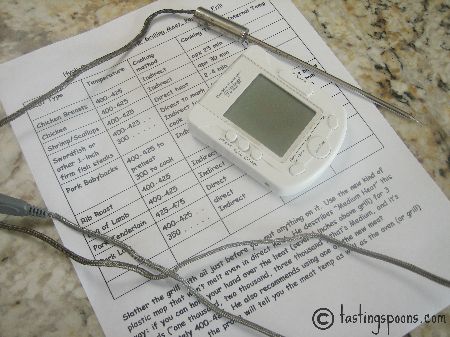
My first attempt after we’d gone to the class was on . . . guess what? . . . chicken breasts. I’d learned that the temperature needed to be 155 when you take them off the grill. I’d bought a good probe meat thermometer (the one in the picture above), fiddled with the darned thing until I got it set properly, and we began. My thermometer happens to be a Polder brand, but there are others out there. I highly recommend buying one that takes both temperatures (interior oven/grill and meat). They’re more expensive, but worth the expense, I think.
The Polder thermometer only has a couple of things I don’t like about it: (1) the temperature rolls only in an up direction, and it goes clear to 600 degrees, so it takes a long time to scroll it through that; (2) the metal wire connector has to drape from the meat in the oven and gets squished in the oven door a bit . . . over the years I’ve had it, it now has flattened, and sometimes works erratically. But that has to do with the firm seal on my Dacor oven, I think, and can’t be helped. Not Polder’s fault.
So, here’s the very basic stuff we learned at the class: (1) Mark the meat. That can be done with almost any meat, poultry or fish. You need to have the grill temp set high enough so it will make marks on the meat. So, it’s like browning the meat in a skillet, but you brown the meat at a fairly high temp.
(2) Reduce the temp and move most of the meat types to indirect heat to finish cooking. The first try at chicken was sensational. Amazing what you can do if you cook the meat until it’s JUST done. You just have to learn when that is, and the meat thermometer will let you know (mine has an alarm) so when it reaches temperature you can remove it immediately. We moved on to trying some other meats, and I kept having to look it up – what temp does that meat have to be when it’s medium rare, or just cooked? So I started compiling a list. I took the notes from the grilling class, referred to several other books I have, and came up with my own chart. It’s what I rely on all the time now. Most of the temperatures and notes come from Hugh Carpenter, but I’ve added some others. My roasting grilling chart, that I created using Excel, is converted to a pdf – a one page sheet. If it will help you with your grilling and roasting (use it for oven roasting too), just download and print. Bottom line . . . it’s been like an aha moment. The techniques work. My DH has been a convert to the use of the meat thermometer, marking the meat, then using indirect heat. In fact, if he doesn’t think I’m listening he’ll likely tell everyone it was all his idea. <big grin>
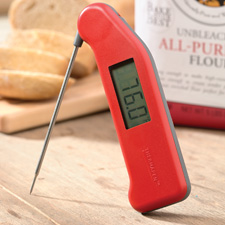 UPDATE: Since I wrote this post, I’ve added a few more meat types and some added instructions on the roasting and grilling chart. It’s printed out and taped inside a kitchen cupboard door so both my DH and I can refer to it very easily. In addition, I have also purchased a Splash-Proof Super-Fast Thermapen (Gray) Instant Read Thermometer, Perfect for Barbecue, Home and Professional Cooking
 , a very expensive tool, but we’re converts to its use in all manner of things (including cakes and breads). If Amazon doesn’t have it, you can find it on many other websites, just search for “thermapen.”
If you don’t think you’re getting just the best results from grilling or roasting, I’d recommend you begin cooking by temperature (finished) and invest in a really good thermometer for sure.